Prerequisites:
To be able to install and run MySQL 5.7.15 your System needs to have library Microsoft .Net Framework installed.
Download and Install Microsoft .Net Framework
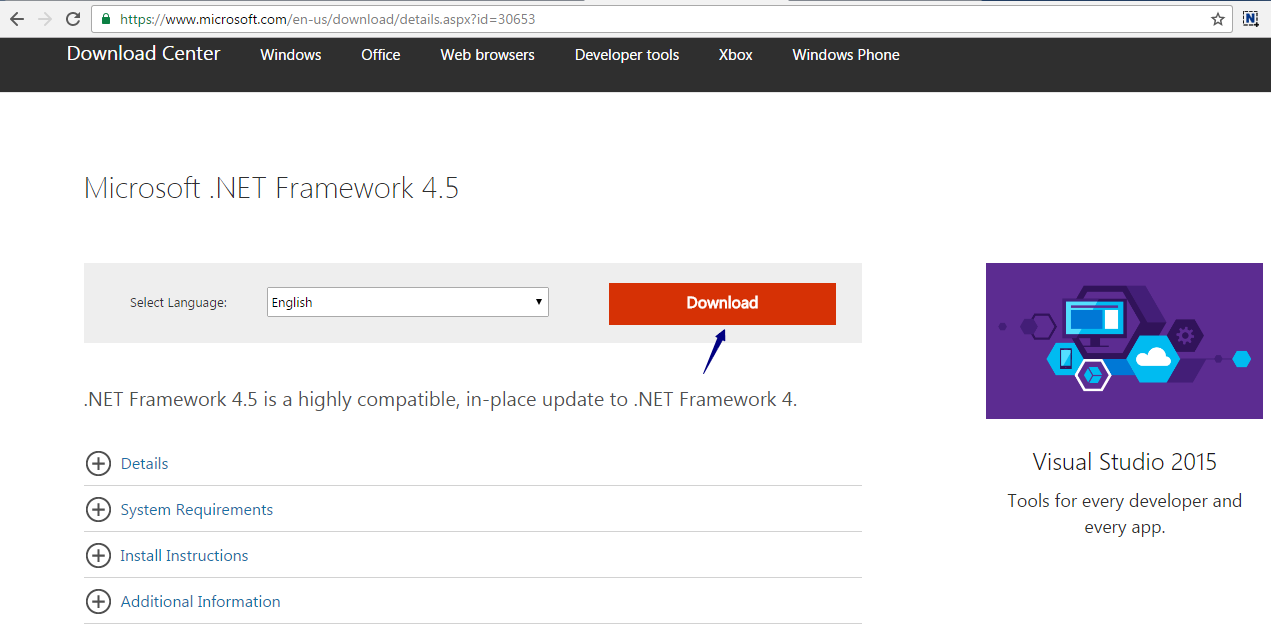
1.Download Microsoft .Net Framework from below link
and Click on Download button to download Installer file.
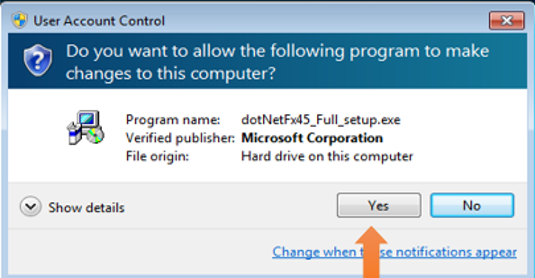
2. Move to the folder to which the MSI file was downloaded and double-click on it to start Microsoft. NetFramework Installer. – click “Yes” when prompted.
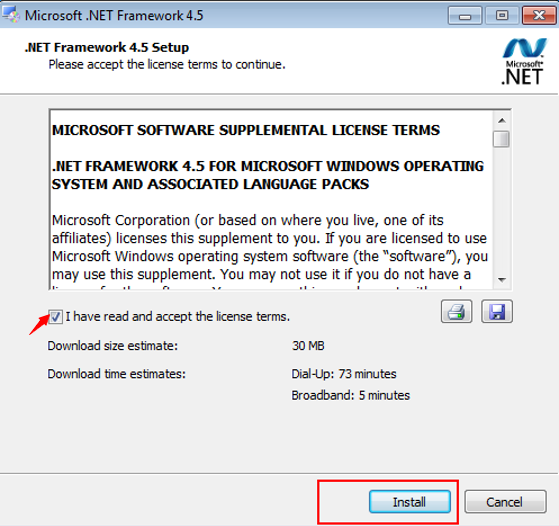
3. Accept the terms in the License by checking the box and hit “Install”.
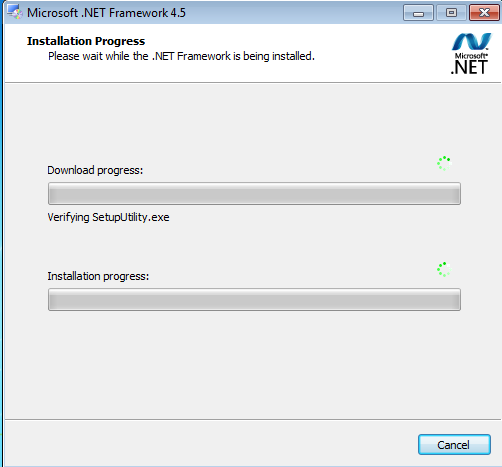
4. It would take some time for the progress bar to start moving… be patient.
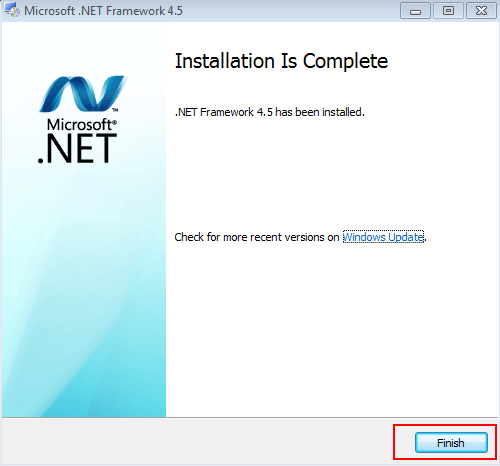
5.Finally Click on Finish button.
Download and Install MySQL 5.7.15
- Download MySQL 5.7.15 from this link http://dev.mysql.com/downloads/installer/
- please click on that link to load it in a browser
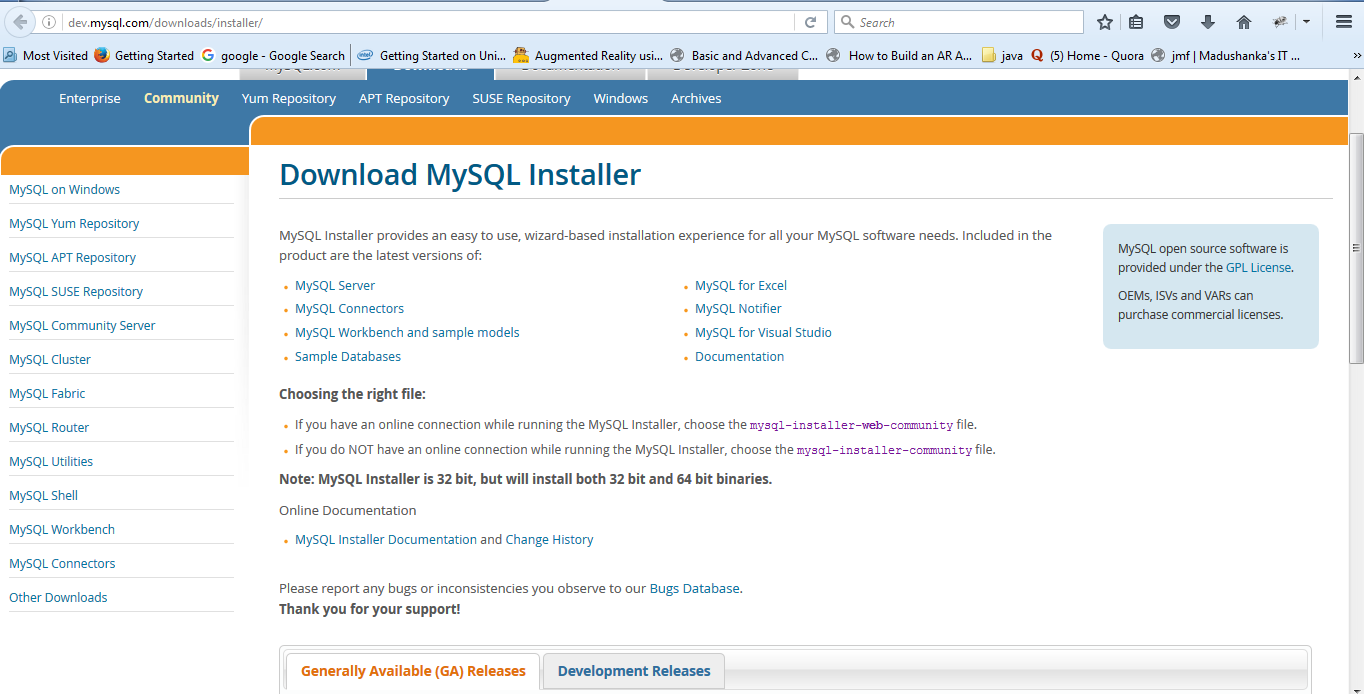
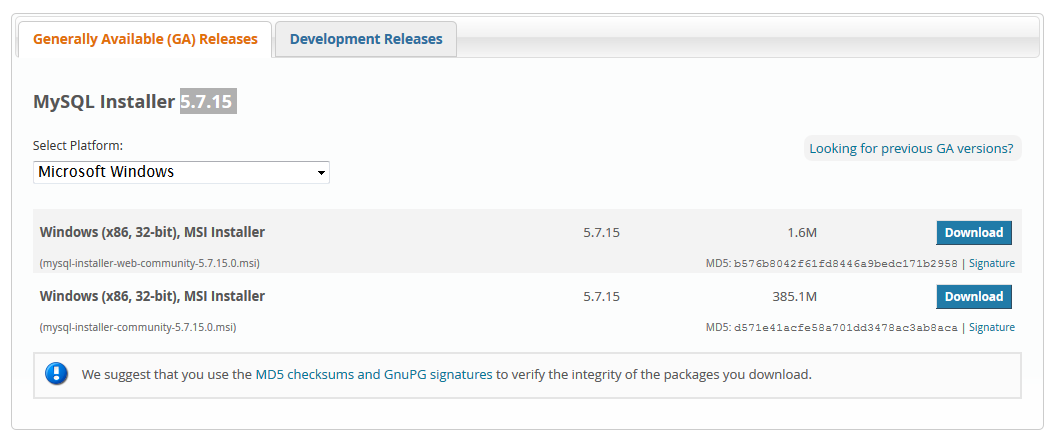
- Scroll down and locate the MSI installer file corresponding to your system type – 32 bit or 64 bit. Click the Download link/button beside it as below.
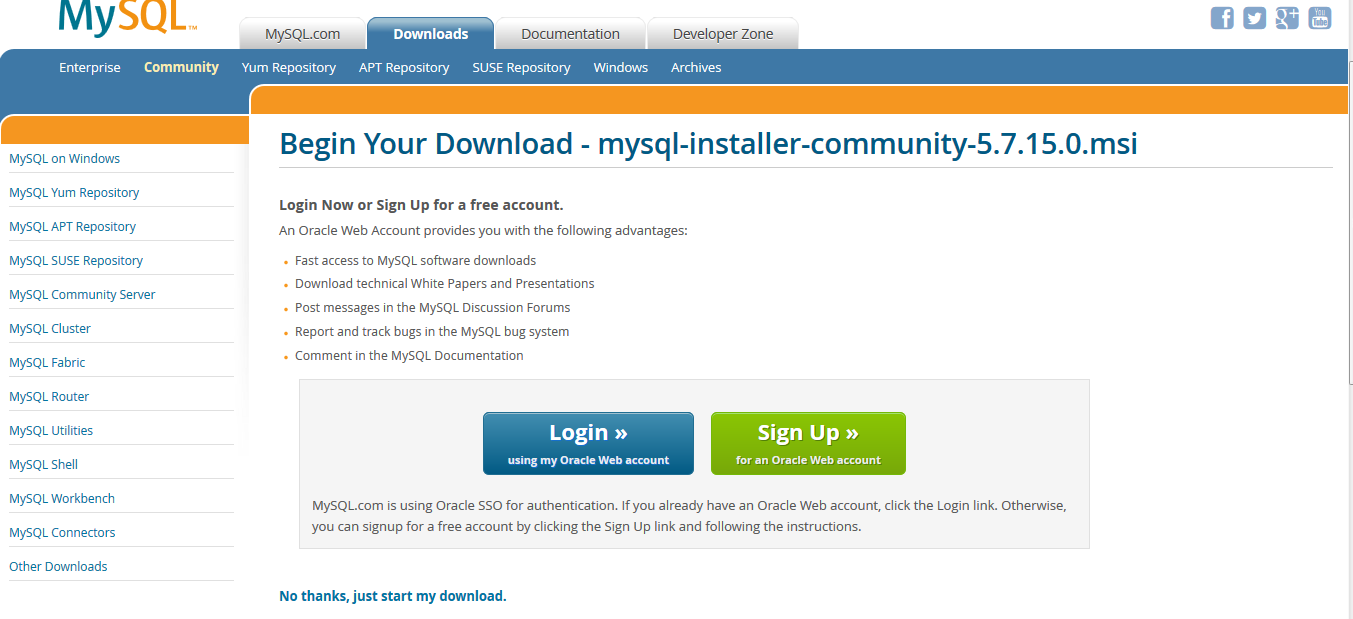
- You will be asked to register or sign in at your account. Registering has its benefits, but if you are in a hurry, simply click on the No thanks, just start my download! Link its automatically gets downloaded.
Setting up MySQL
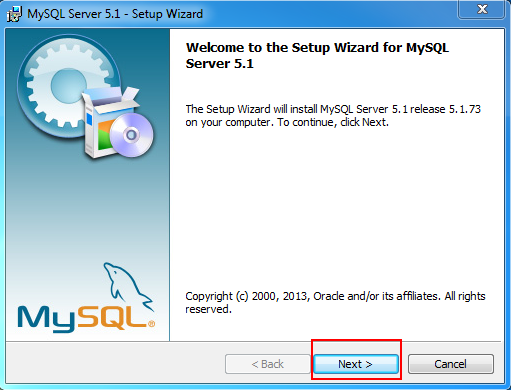
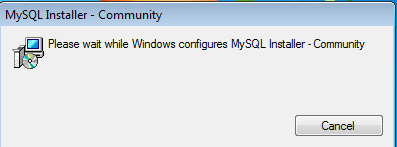
- Move to the folder to which the MSI file was downloaded and double-click on it to start MySQL installation – click “Run” when prompted.

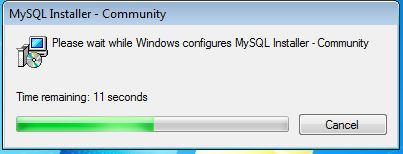
- Selecting “Yes” prompts another window as below and take few minutes for processing.
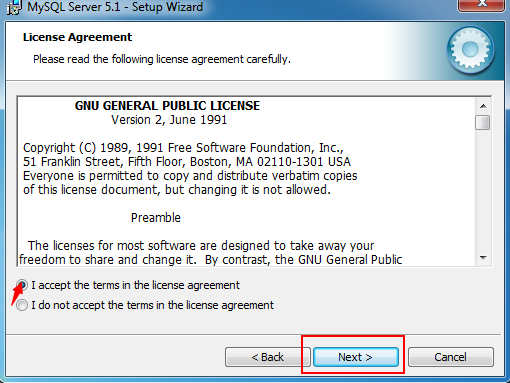
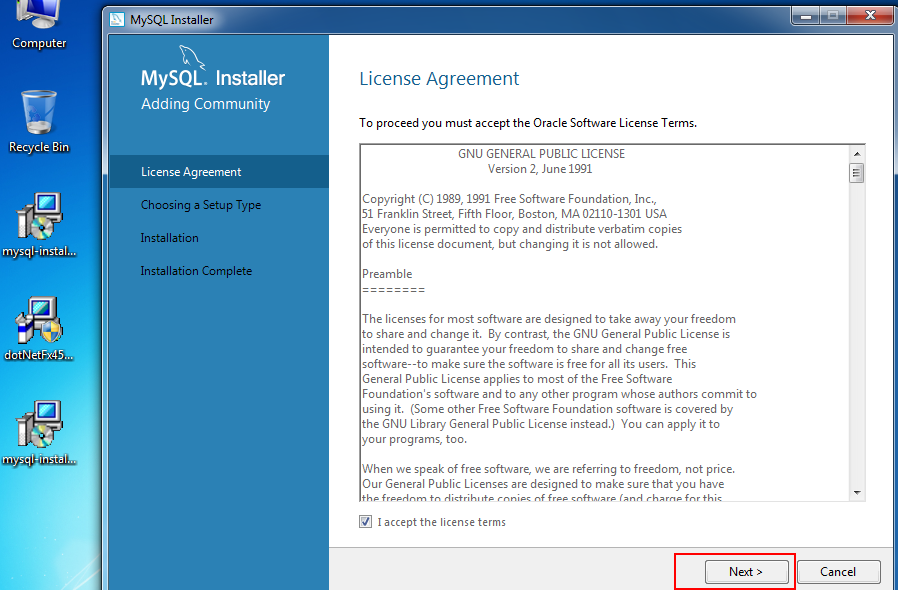
- Accept the terms in the License Agreement by checking the box and hit “Next”.
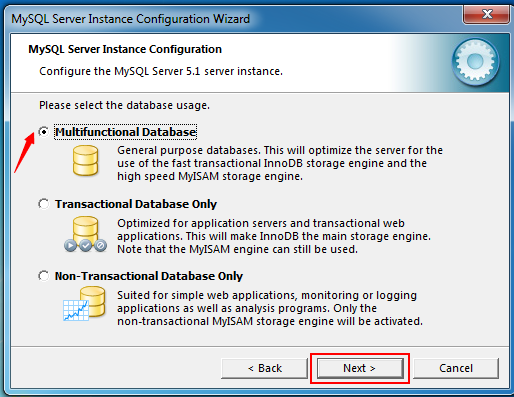
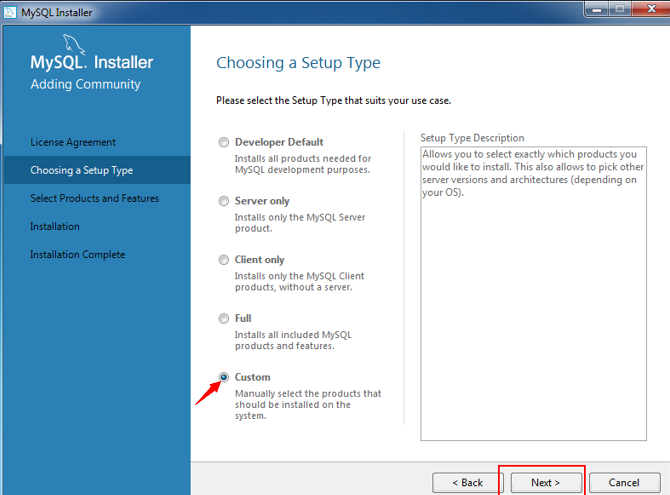
- Choose the appropriate Setup Type for your system. Typically, you will choose Developer Default to install MySQL server and other MySQL tools related to MySQL development, helpful tools like MySQL Workbench. Or, choose the Custom setup type to manually select your desired MySQL products. Here I am selecting Custom Setup Type.
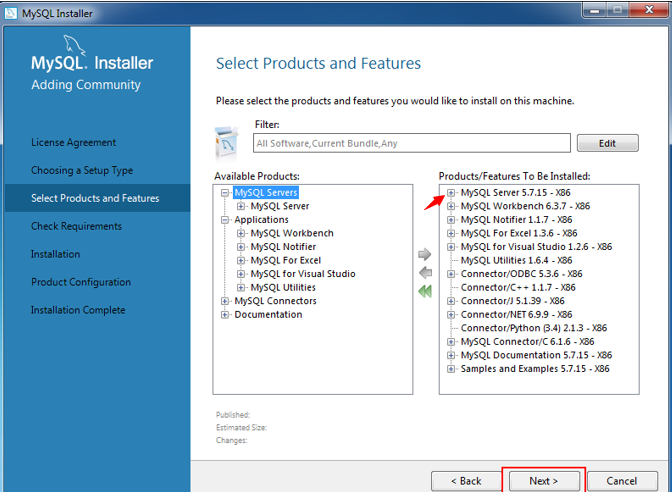
- Select the products from MySQL package as below screen. As per my requirement I am selecting MySQL-Server 5.7.15(X86).
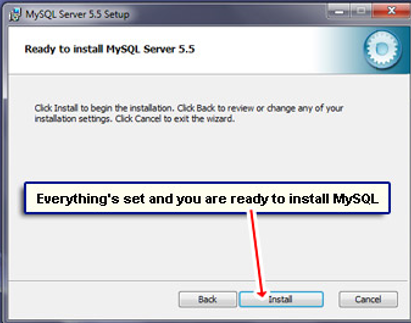
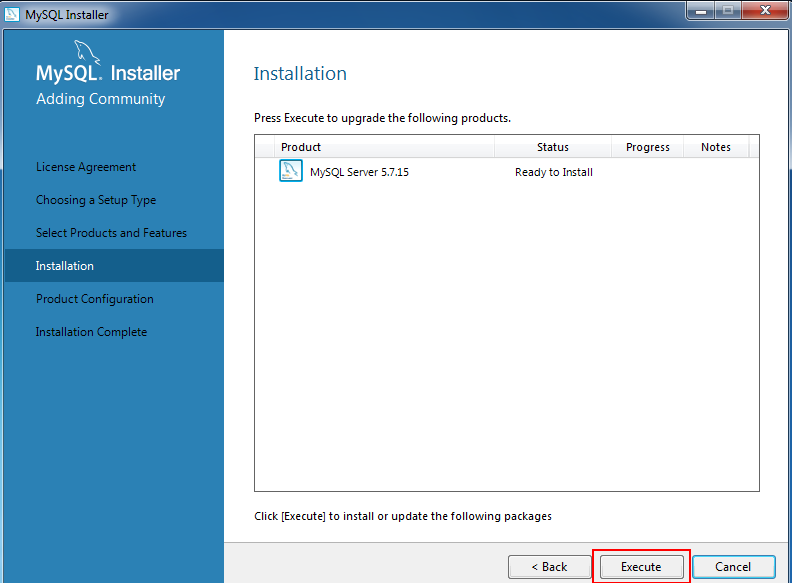
- You are now ready to install MySQL on Windows 7 operating system. Click “Execute”.
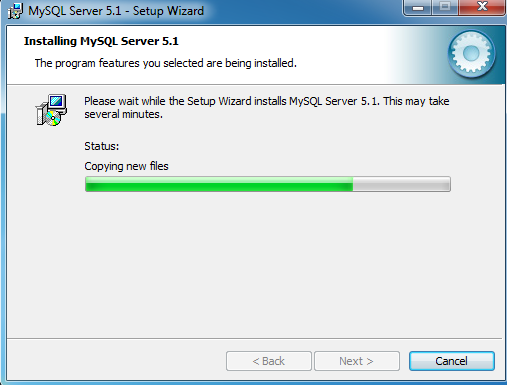
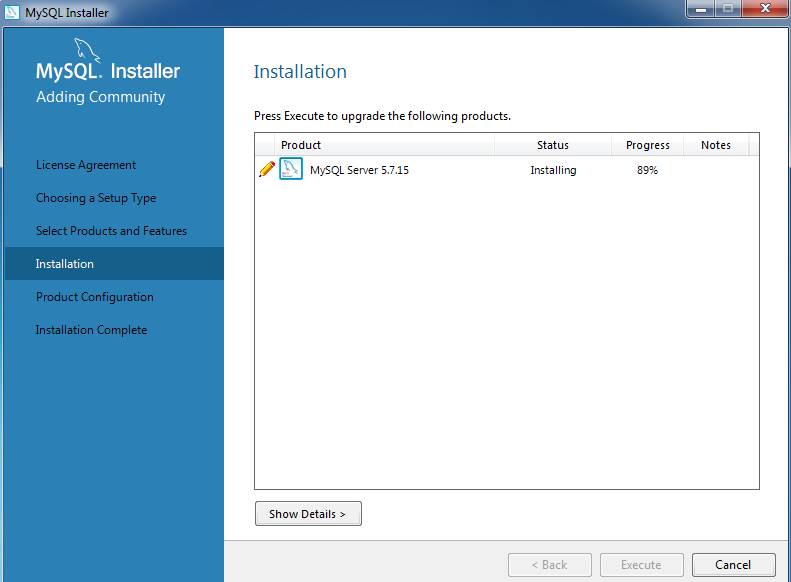
- Later It will prompt following wizard and take time for Execution.
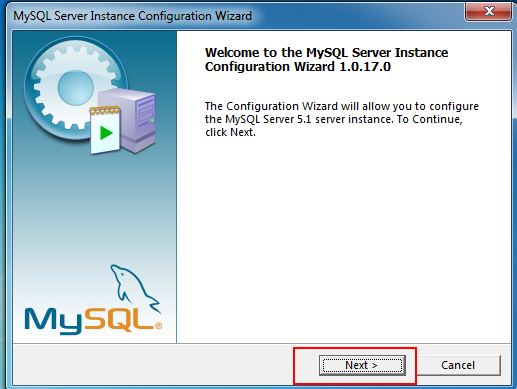
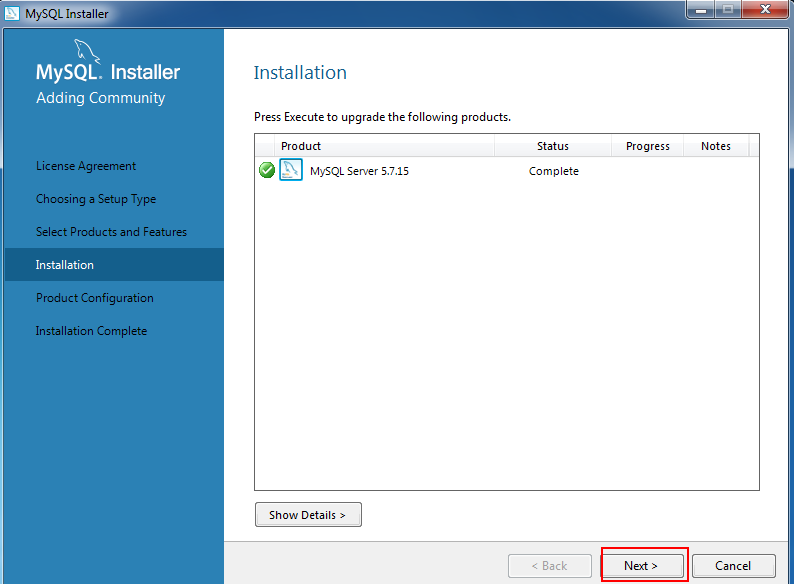
- After successful Execution It will prompt following window and click “Next”
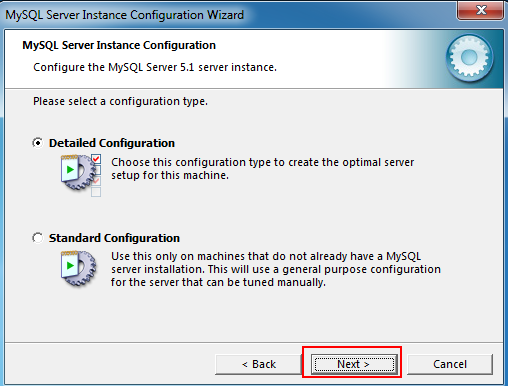
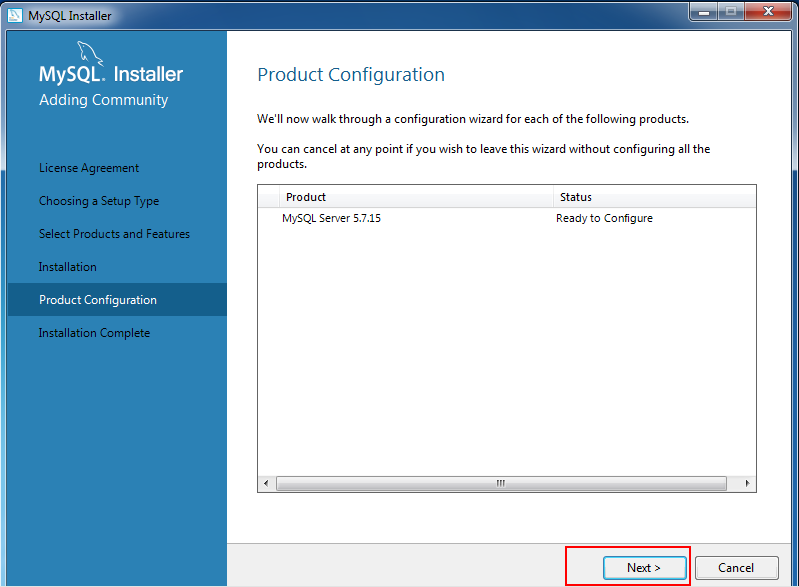
- Click on “Next” to configure the MySQL
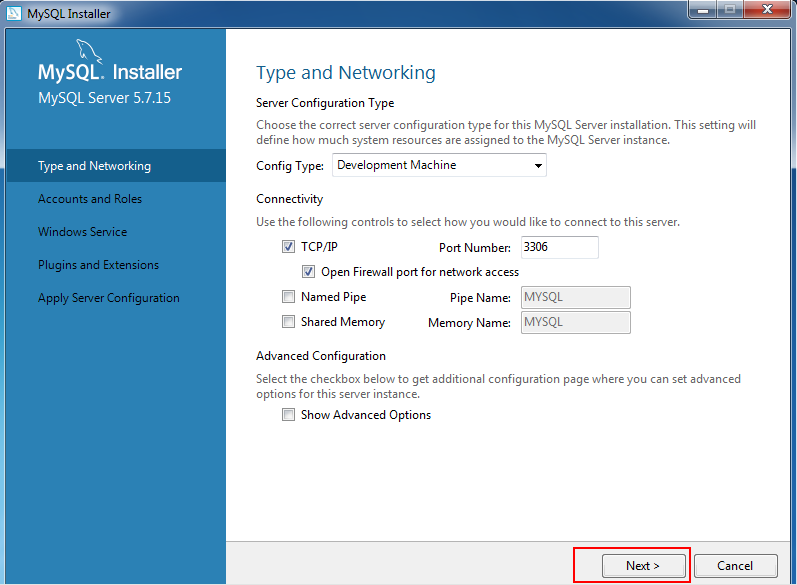
- Select the Config Type as Development Machine from different config types as below.
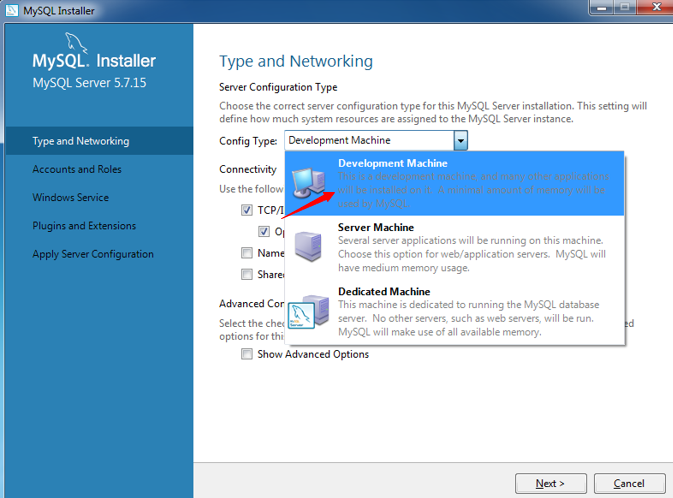
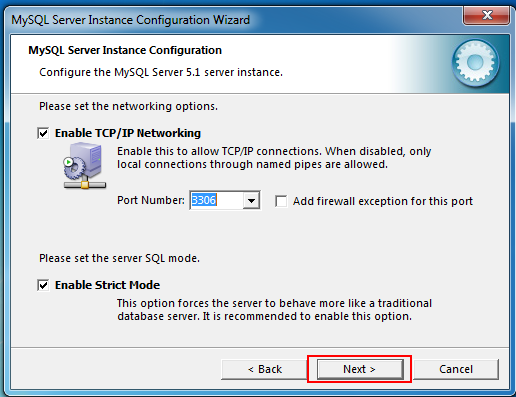
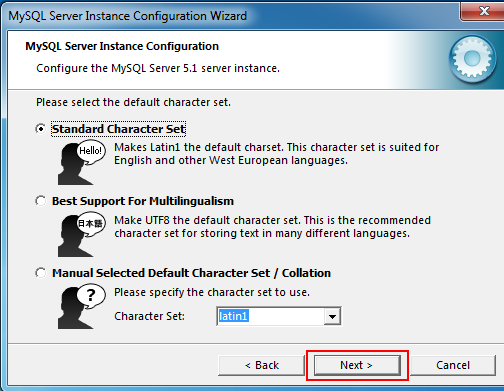
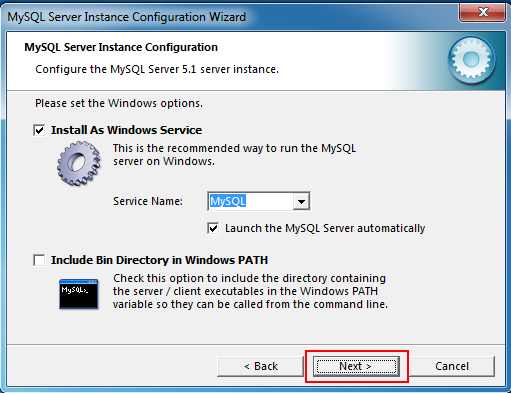
- Click on “Next”
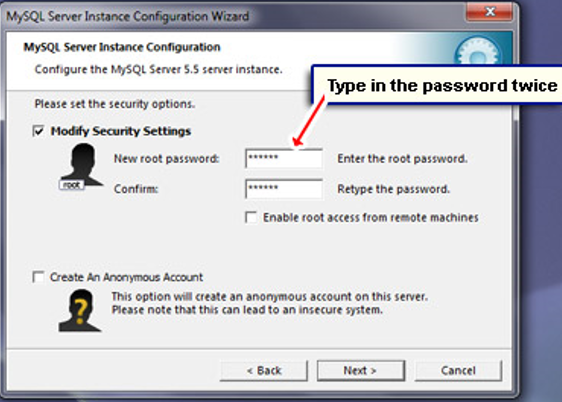
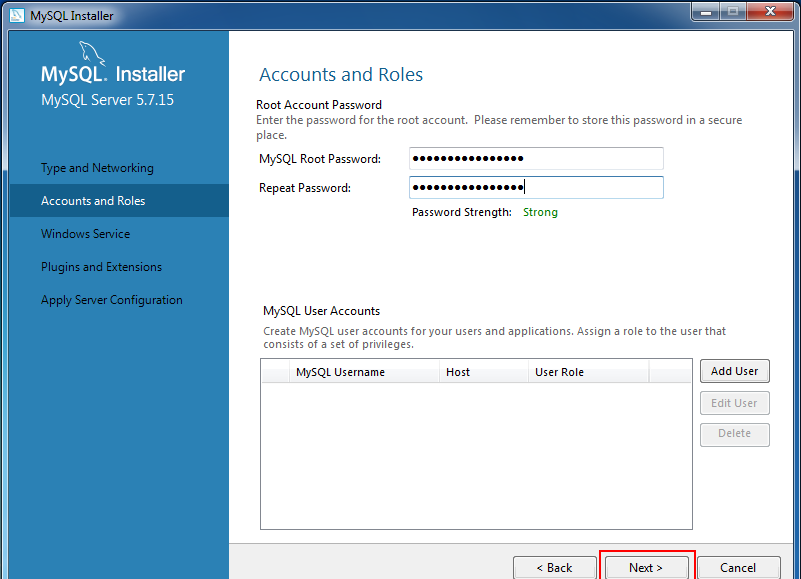
- The password for the MySQL server instance has to be typed in twice as below. Remember to keep a note of it and don’t lose it. The password doesn’t have to be very strong because, I suppose, you would be using MySQL on your computer for learning/development and NOT production. And hit “Next”.
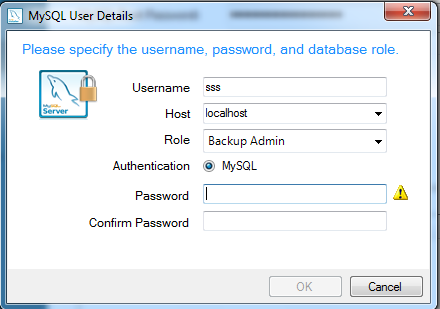
If you want to add User, you create user by clicking “Add User” button from below instructions. This is optional one.
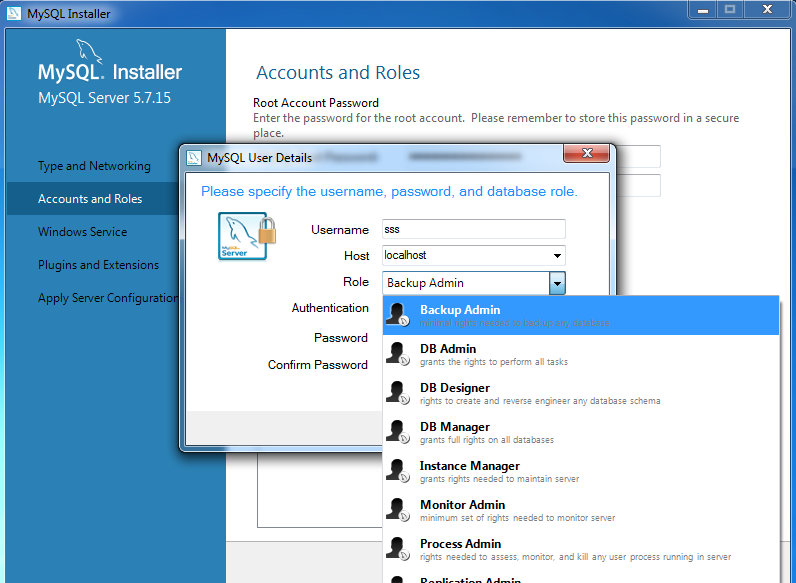
Here provide the password for twice enable OK to create user.
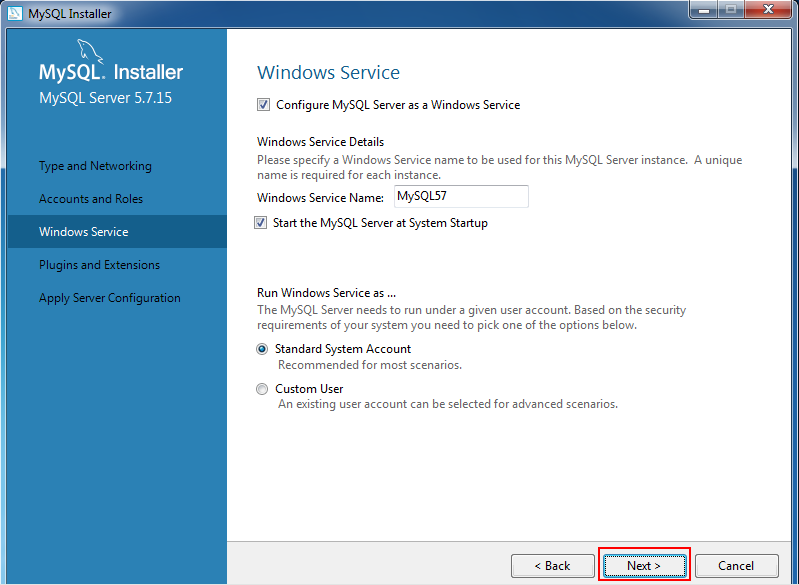
- Click on “Next” button
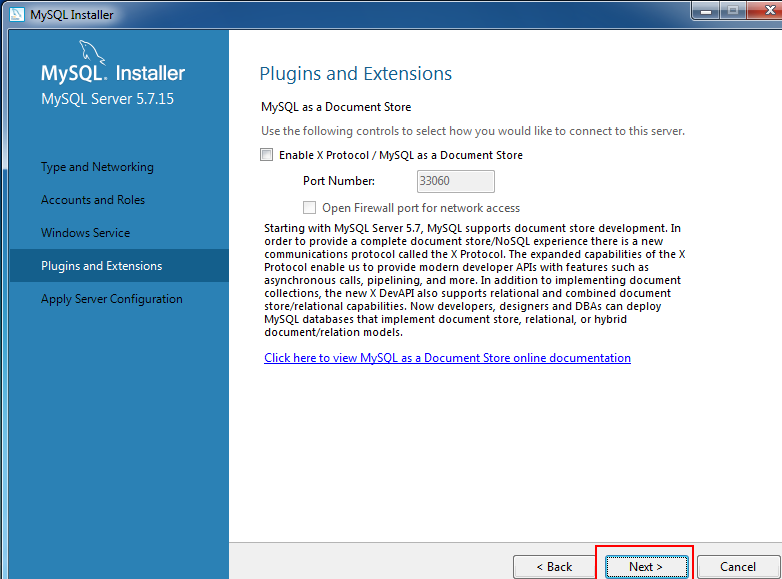
- The configuration window prompts Plugins and Extensions Wizard. Just hit “Next”
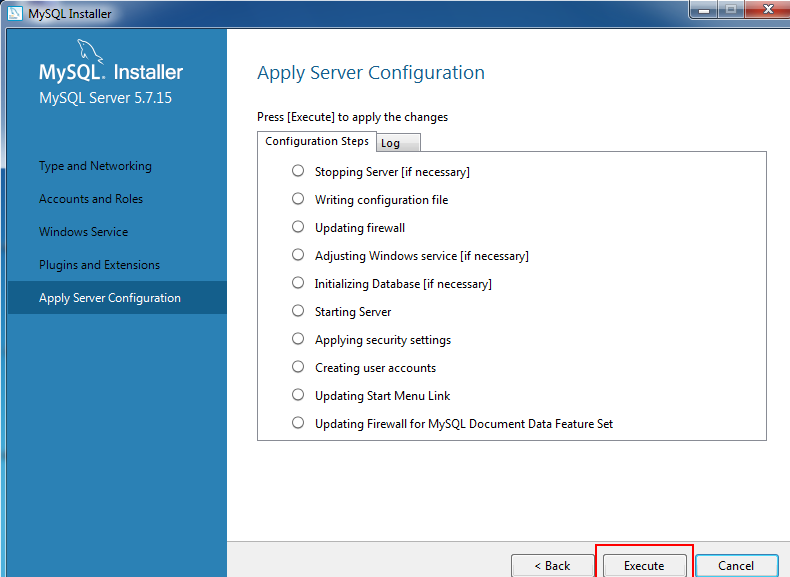
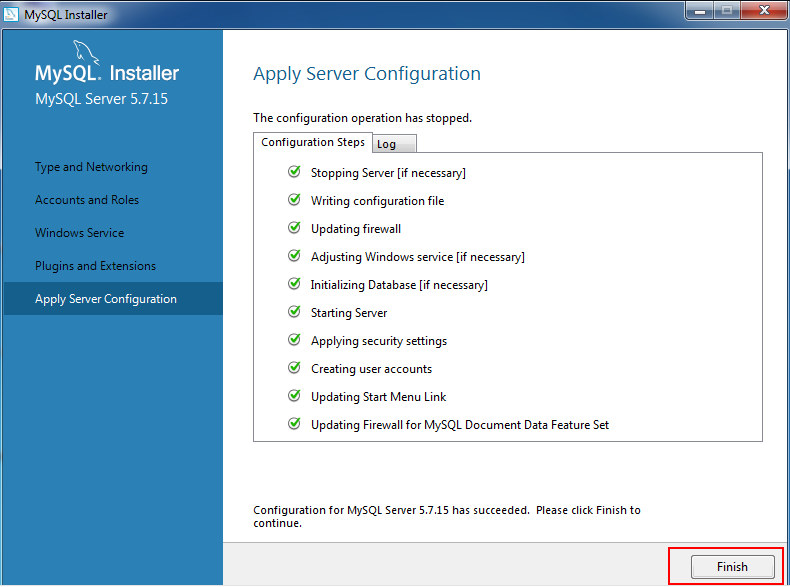
- Finally, Server Configuration wizard has received all the information it needs and is ready to create a MySQL server instance. Click “Execute” button
- After Successful configuration it enables Message to Click on “Finish” button
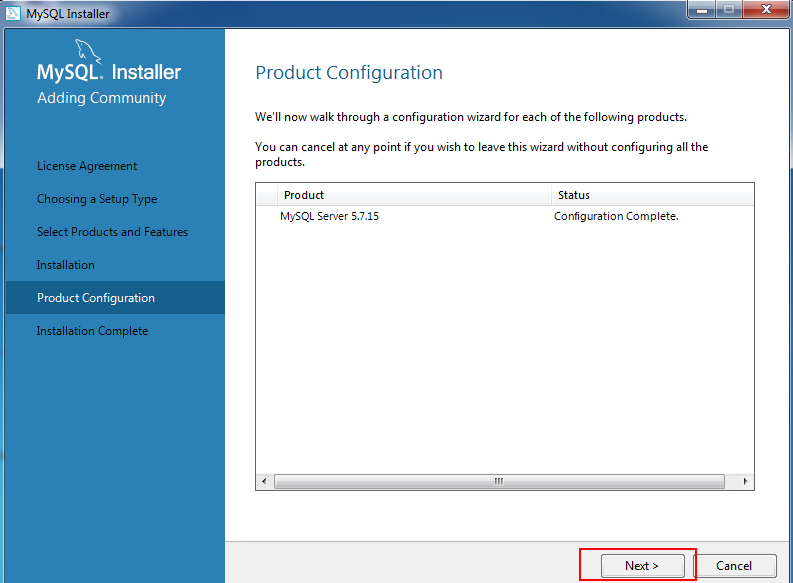
- Product Configuration Completion Wizard Appears with successful completion of our selected product. Check once and hit on “Next”
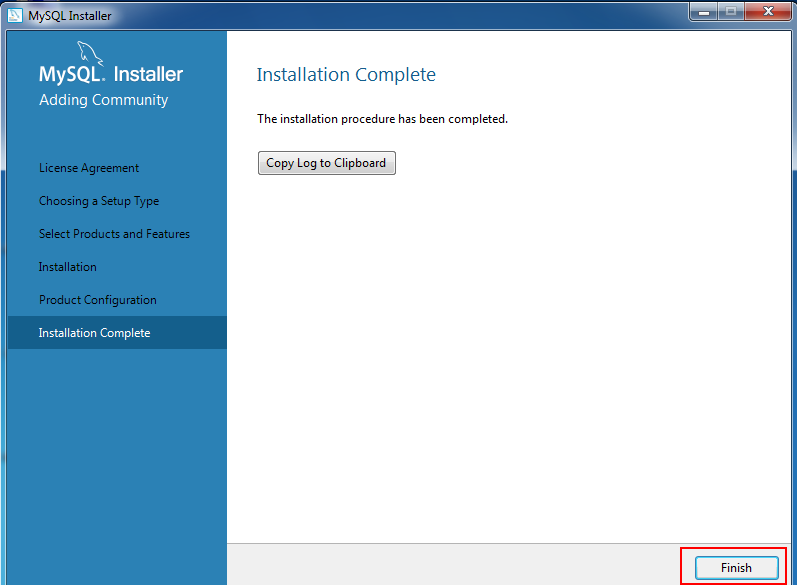
- After successful completion of our selected products will prompts Product completion wizard simply click on “Finish”.
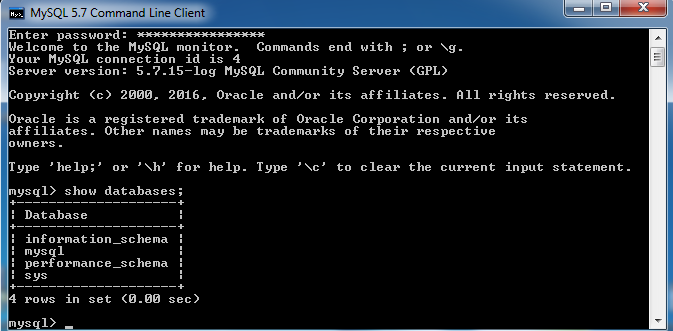
Checking the MySQL installation
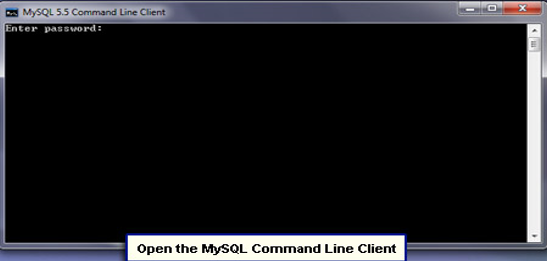
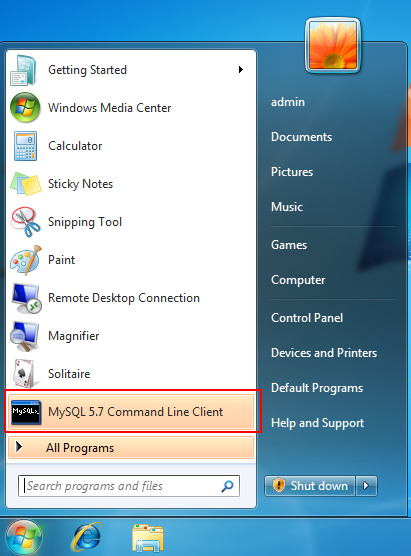
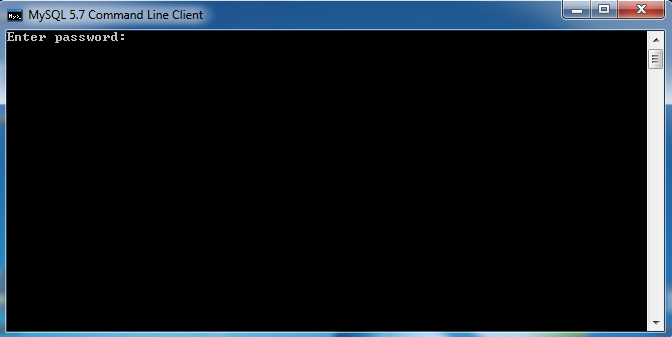
- The easiest way to check MySQL installation and confirm that it’s working properly is to use the MySQL Command Line Client. Fire it up from “All Programs” -> “MySQL” -> “MySQL Server 5.7“
- Now enter the MySQL password – the characters you type will be replaced by the asterisk sign (the password is not shown for security reasons – obviously).
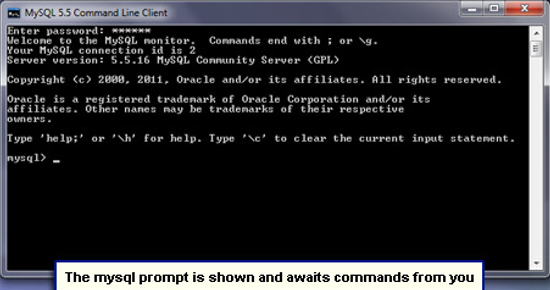
- The MySQL client displays the MySQL> prompt on successful login.
- Type show databases; (the semi-colon at the end is not a typo) and hit the enter key. This simple SQL command instructs MySQL to display the names of the installed databases and there should be four of these. Hurray! Rejoice because you have been able to correctly install MySQL on Windows 7.